
My Top 5 Apps I Use To Edit Photos

Hey guys!
So i’ve been meaning to write this post for a while now. I started editing my photos when I started my blog. Of course before then, I knew you could throw on a filter on it and call it good. It wasn’t until I started to use an actual camera instead of my phone that I learned how to control what my photos looked like. While I wouldn’t say I’m an expert, I do have my list of go-to photo editing apps for creating cohesive content for my Instagram feed. I wish I could fit all the info I had about each app but I would have to break it up in sections. I wouldn’t want to overwhelm you.
In today’s post, I list what apps I use, why I like it, what features I use the most from each, If its costs (signified with the $ sign), and tips! If you have any questions at all, feel free to comment below or email me! I’m more than happy to help.
So here are the apps that I think every blogger and non-blogger should have:
Lightroom
Lightroom is where I do 95% of my editing. When I first got Lightroom, I was super intimidated. Honestly, I went months without touching it. I felt like it was over my head until a friend explained how to use it. I promise you, it’s not as hard as you think it is! Once you know the basics, you can start to play with your photos and experiment. It takes a lot of trial and error.
After a few days of dabbling in it, I finally found my “look” or how I like my photos. Once I did that, I saved my adjustment as a “preset”. Presets are like little recipes or “filters” that can be applied to any photograph with just one click. You can make your own, or add in ones that you get from other people. If you’re new to Lightroom and want to use presets, I recommend just going on Etsy and buying them there. They’re super cheap ($5) and you can practice playing with the adjustments.
Lightroom is great for people who want to learn how to how to edit their photos from the ground up. Everything from how to manipulate exposure, highlights, shadows, colors, & details. My favorite feature by far has to be the selective tool. It allows you to manually select the part of an image and manipulate it rather than the whole photo. Another feature I love using is the clarity tool. I like to pull down the clarity of the photo slightly and then use the selective tool to turn up the detail on specific parts I want emphasized. Also, I like to use the selective tool on my skin and then turn down clarity to have that smooth skin look. Anyways, I could go on-and-one about what tools I use for what. Let me know if you would like a separate blog post just on Lightroom.
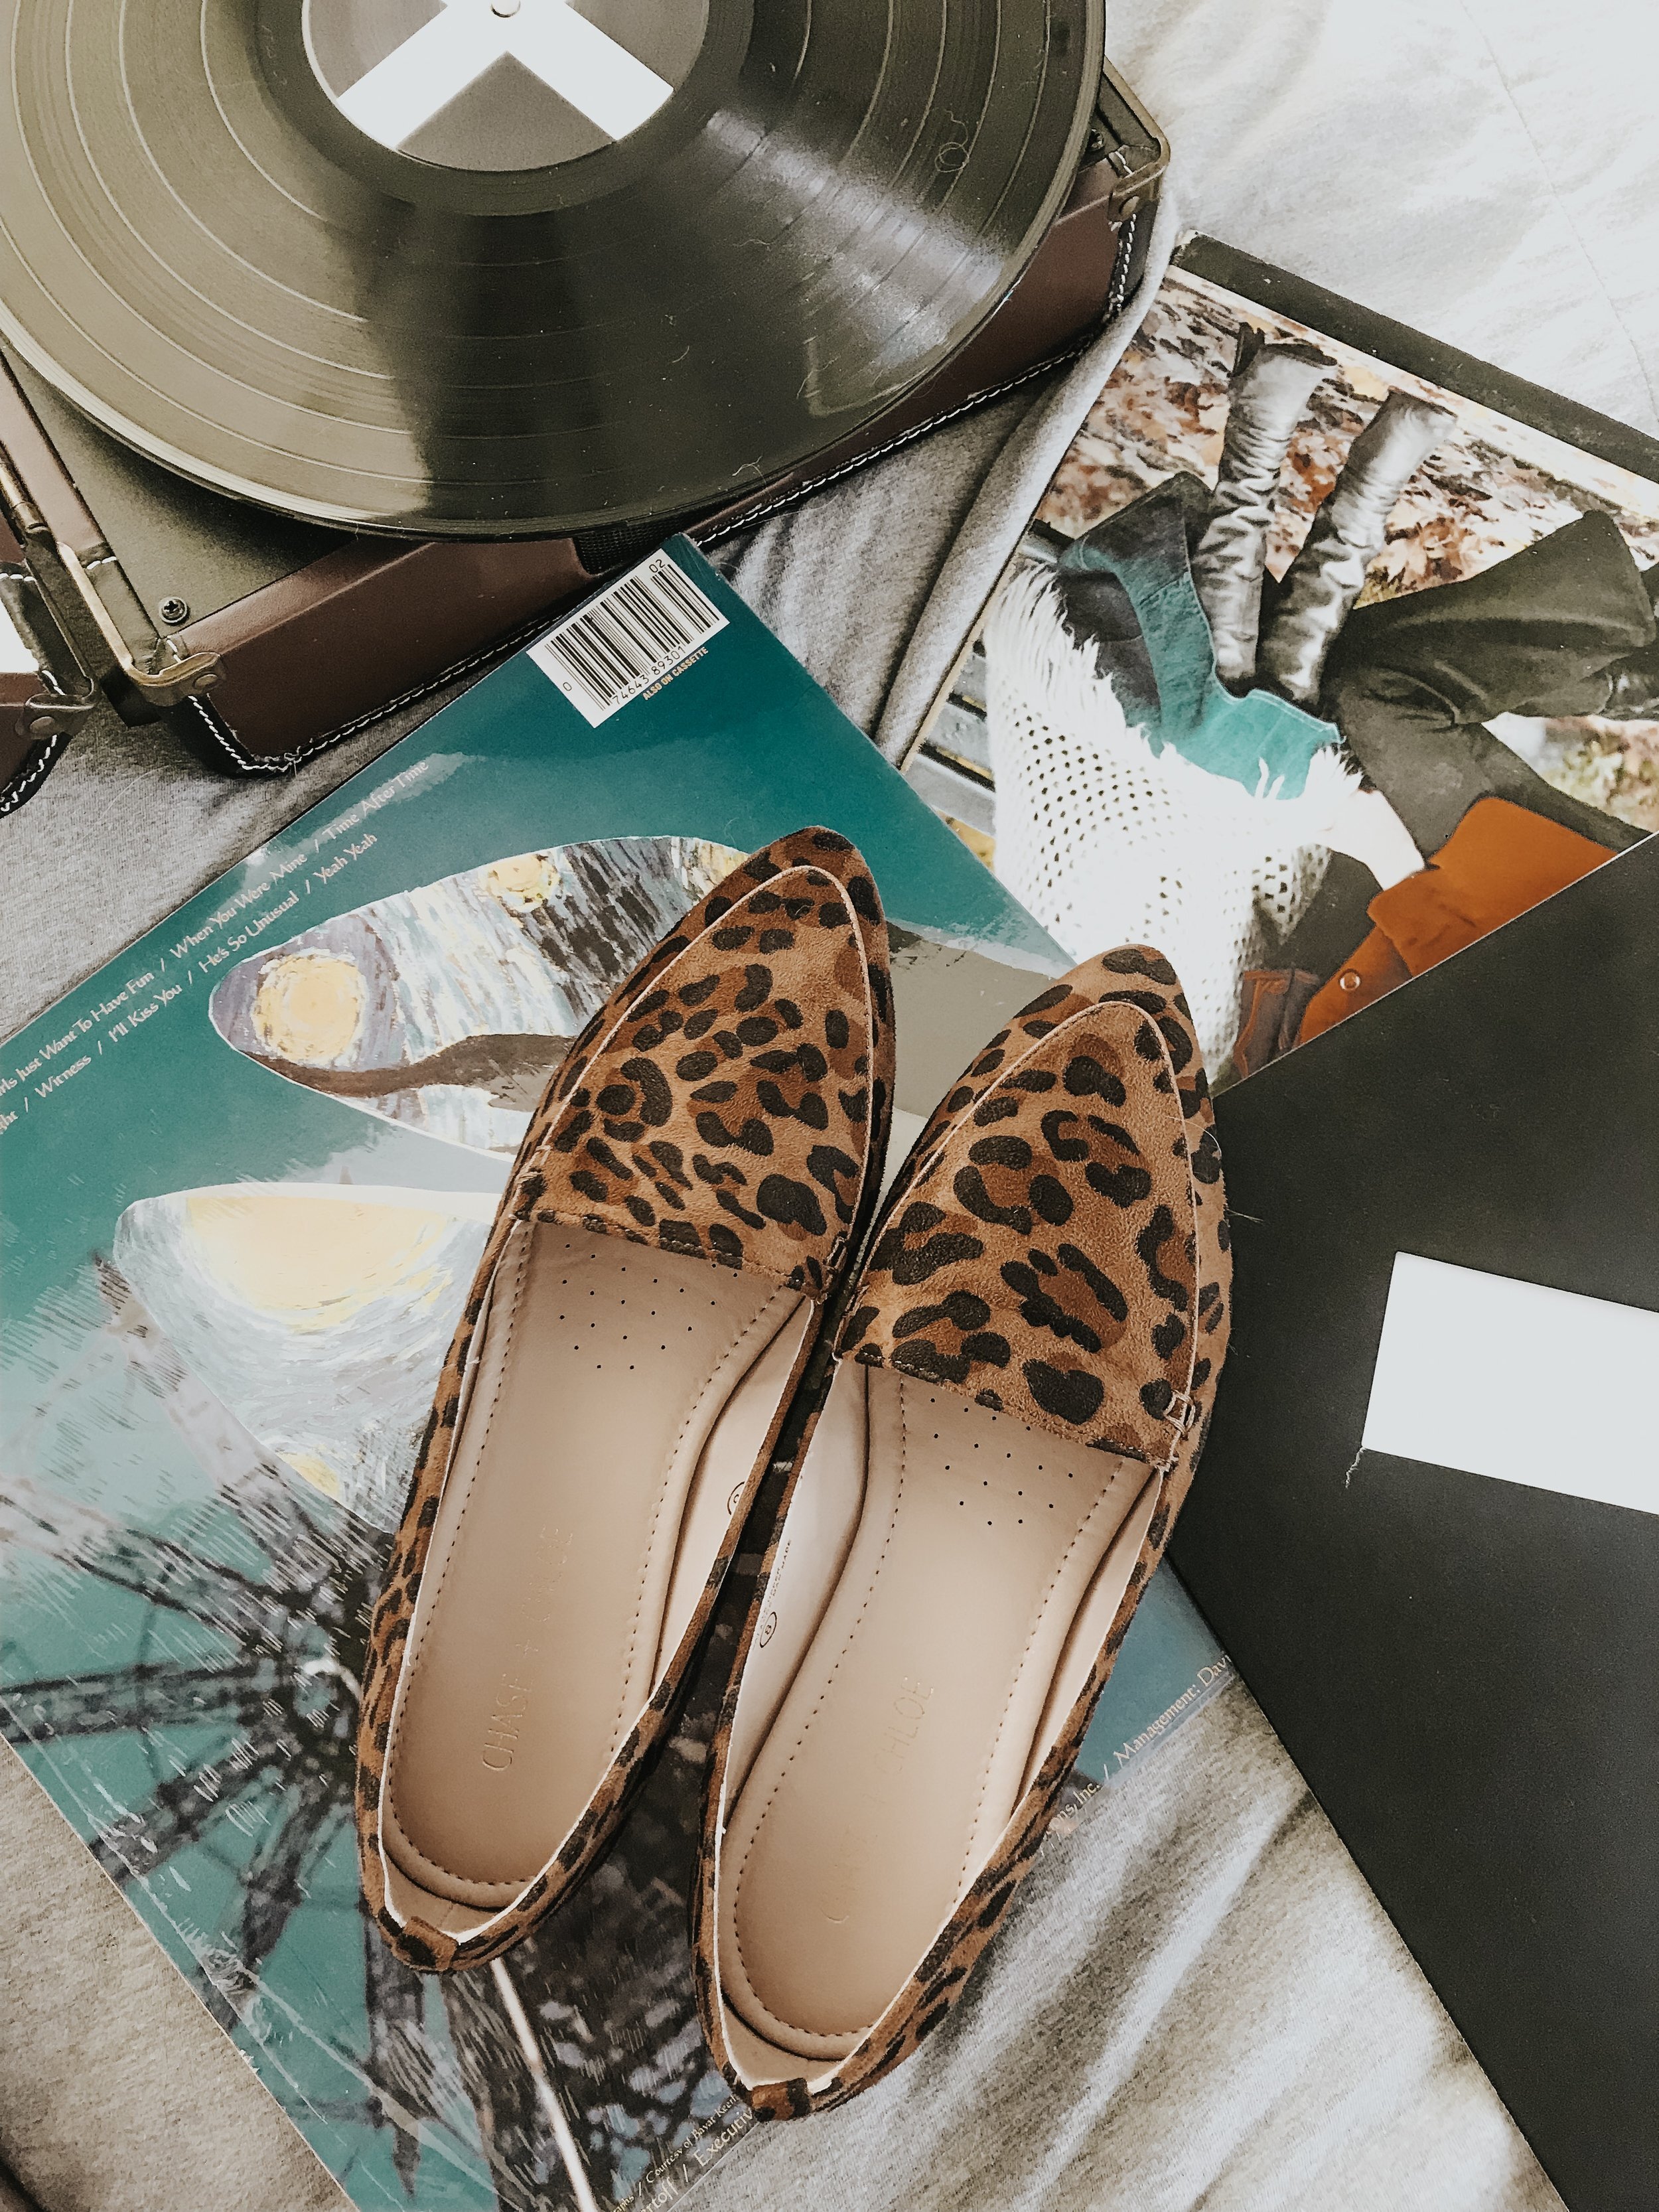
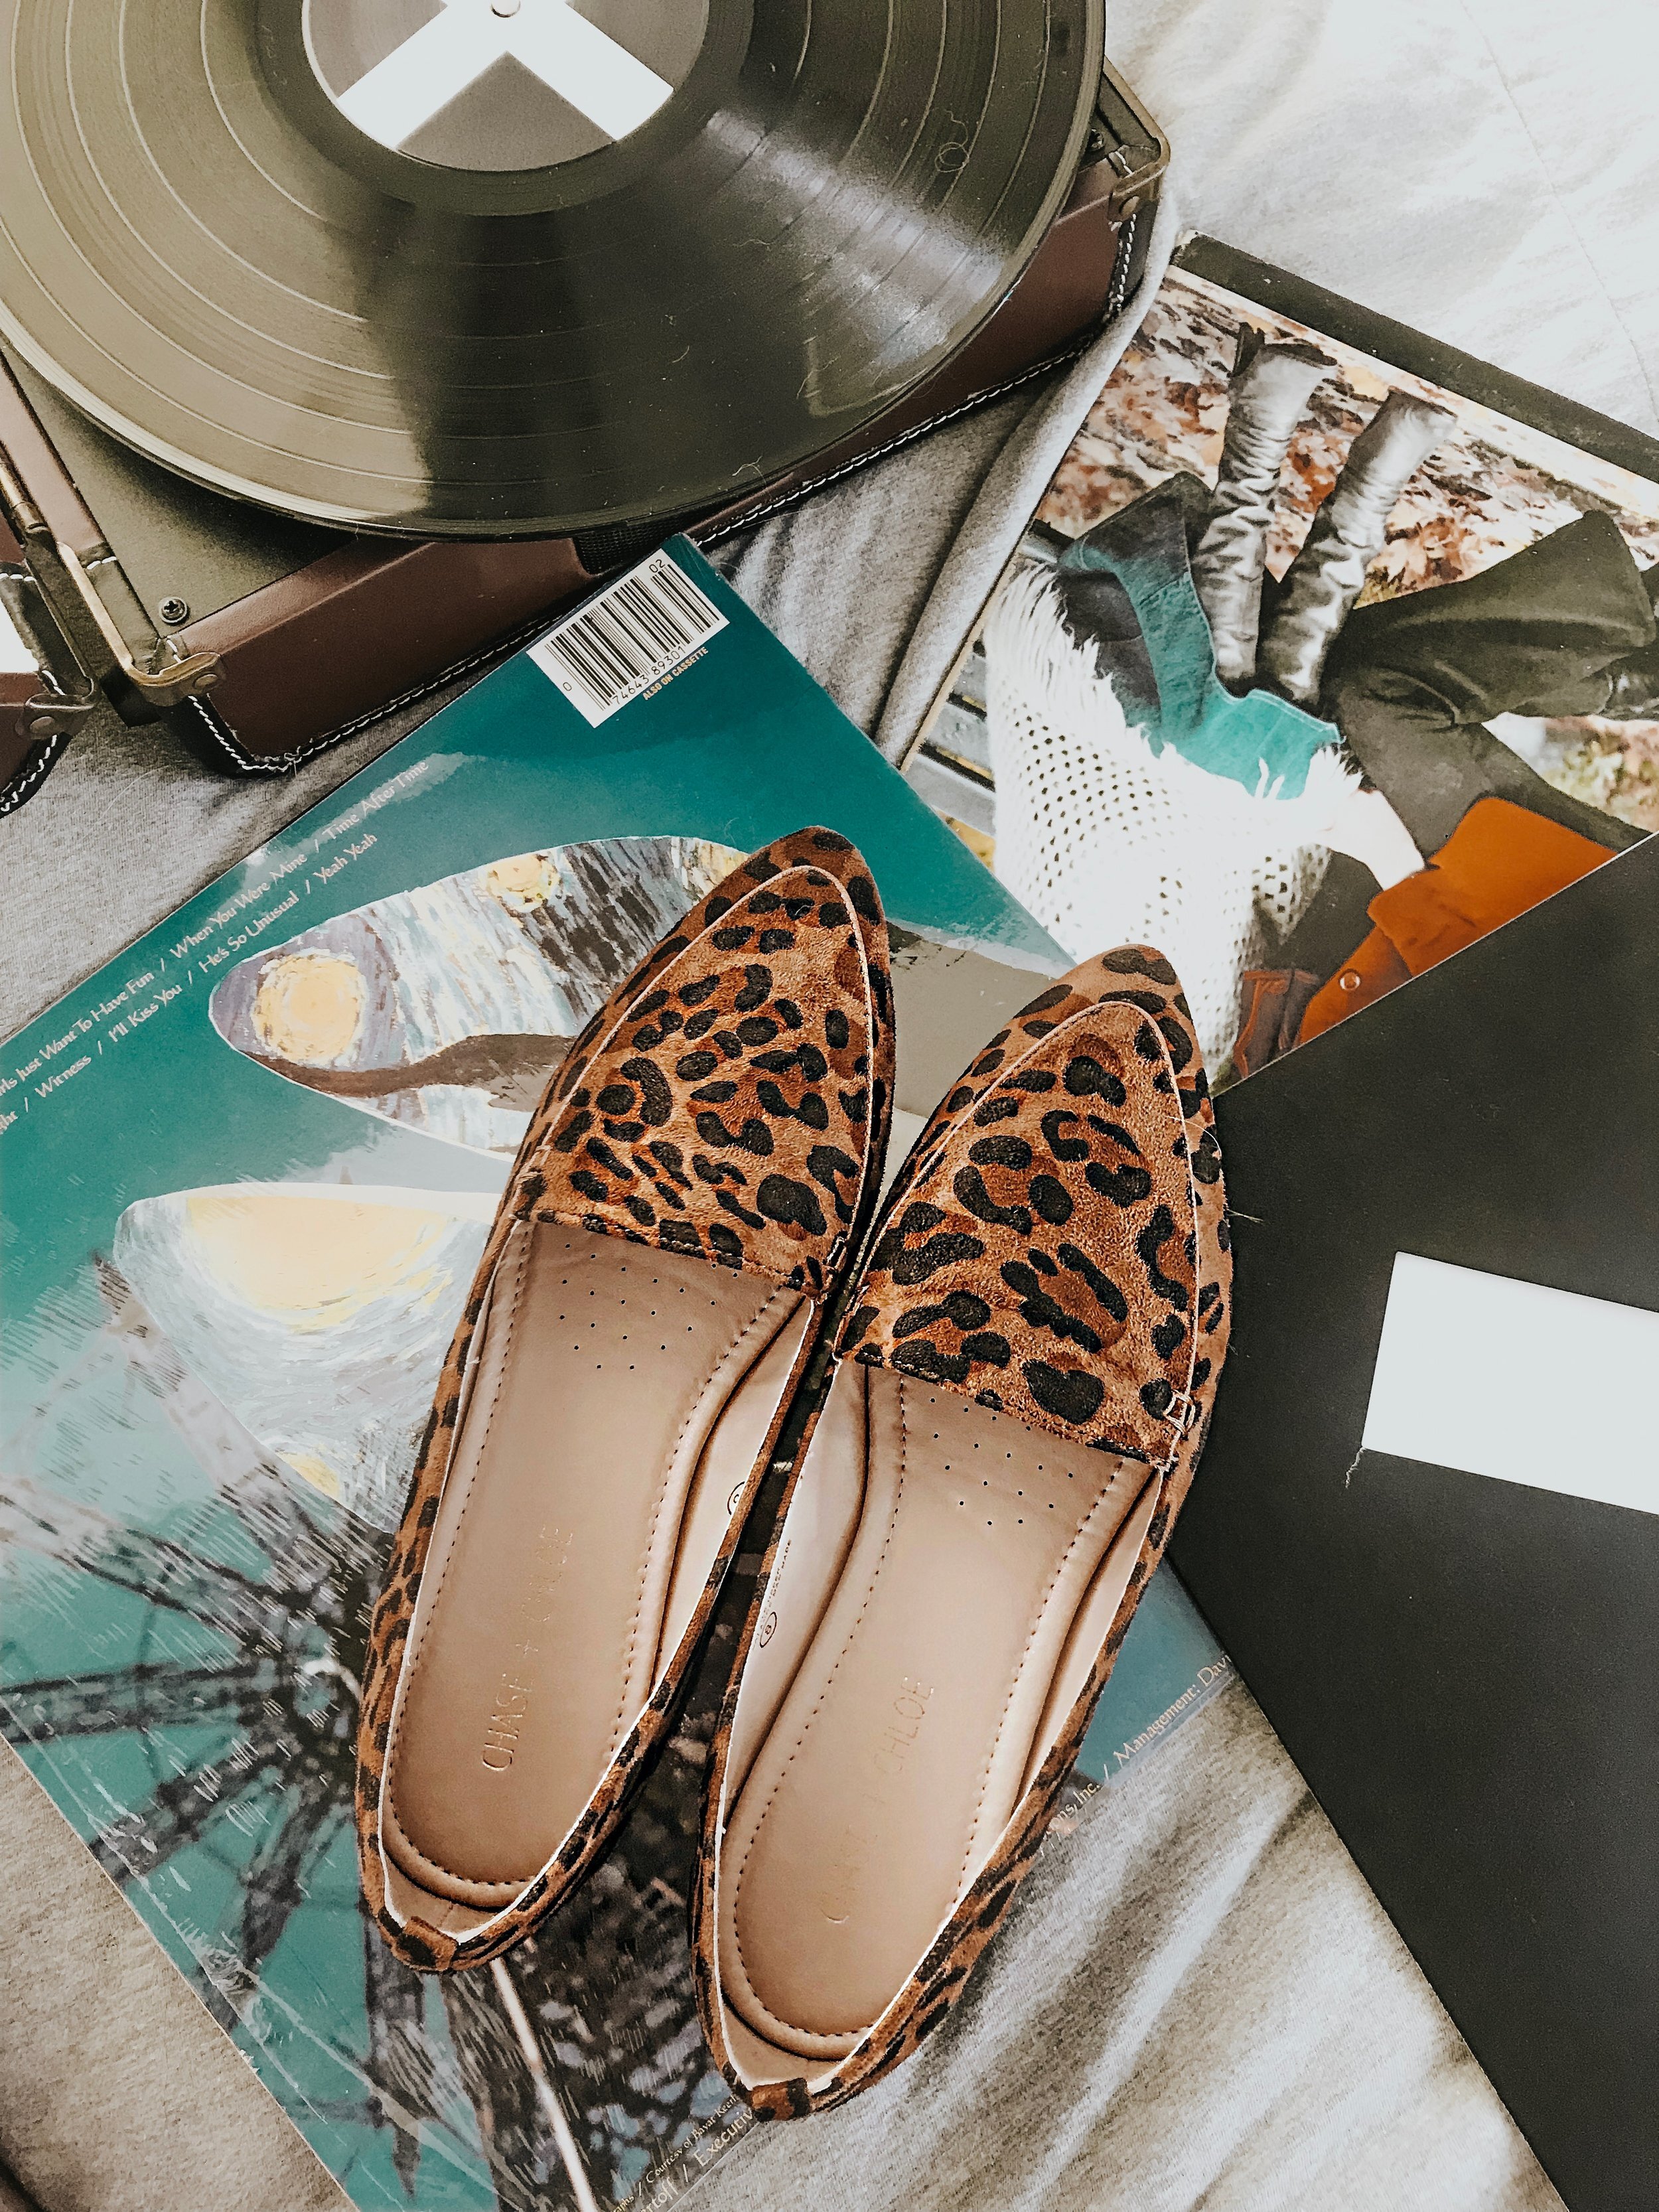
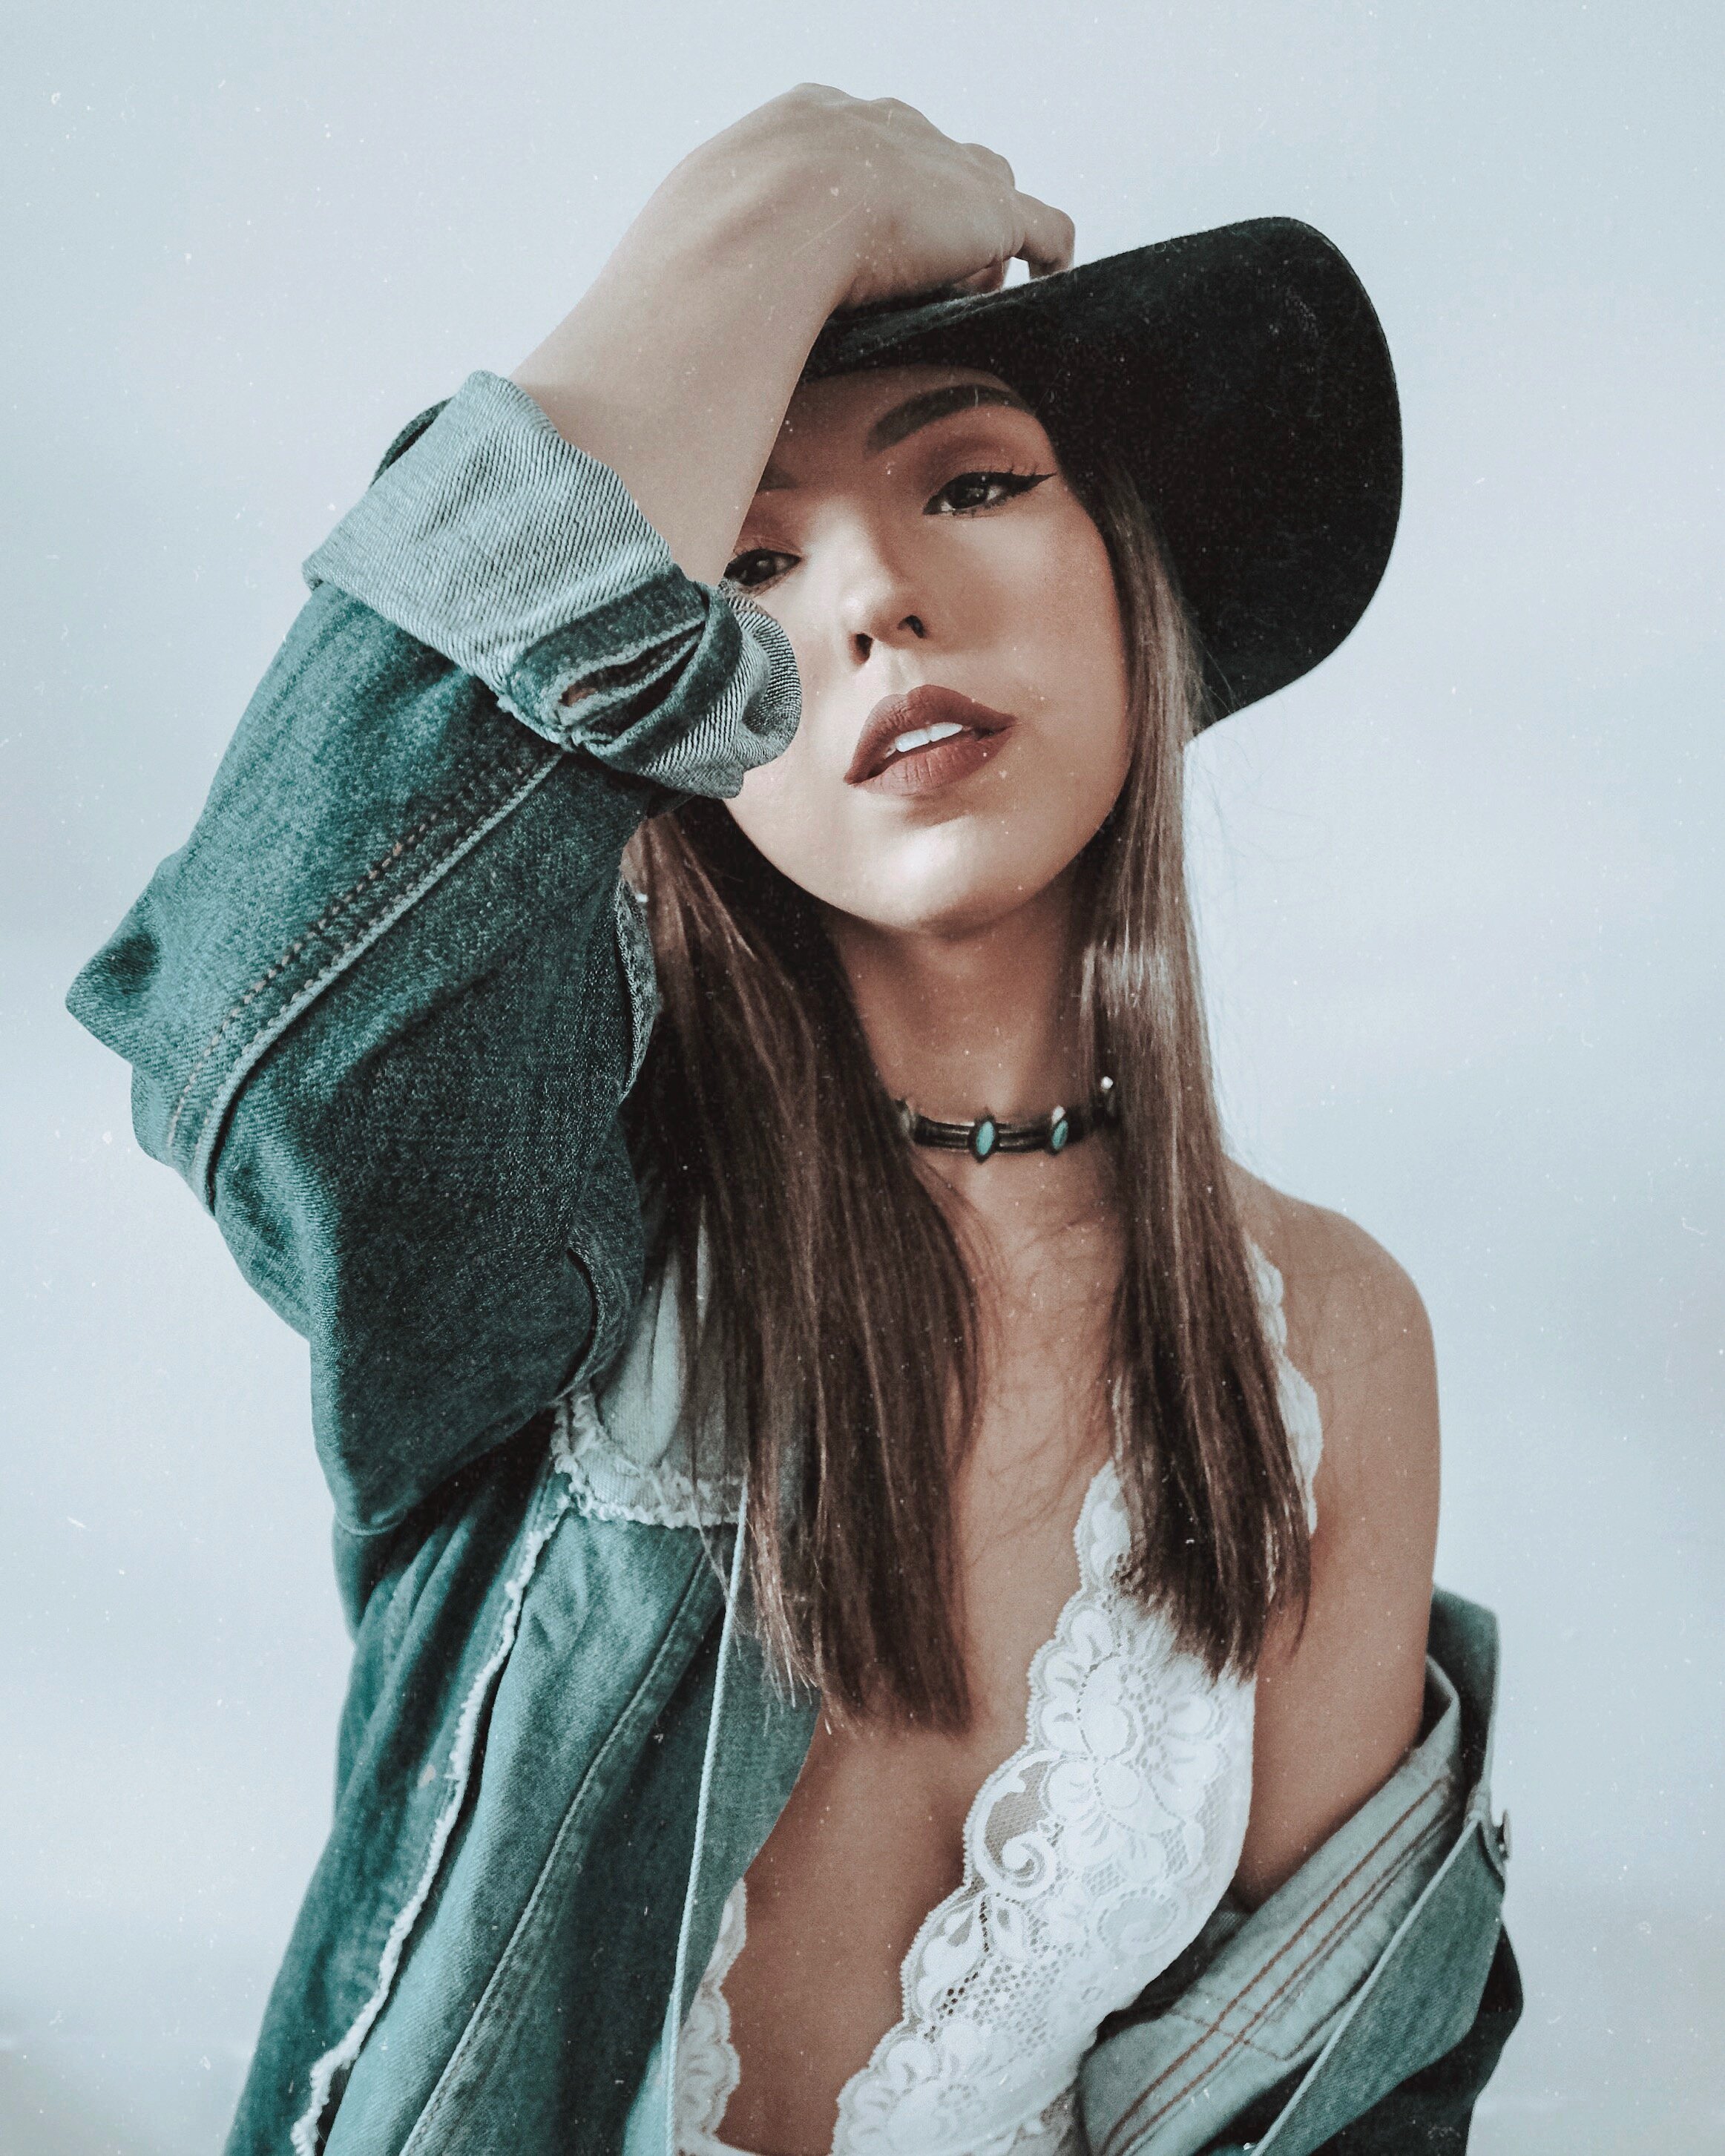
Example:

2. Photoshop Mix
Photoshop mix is an app I just got a few weeks ago. I wanted to start playing more with graphics and add-ons. So, what is it? Photoshop mix allows you cut-out and combine with multiple images. With this app you can
• Cut out and remove sections of your images or merge multiple photos.
• Seamlessly combine photos together .
• Adjust colors and contrast or apply presets (filters) to your pictures
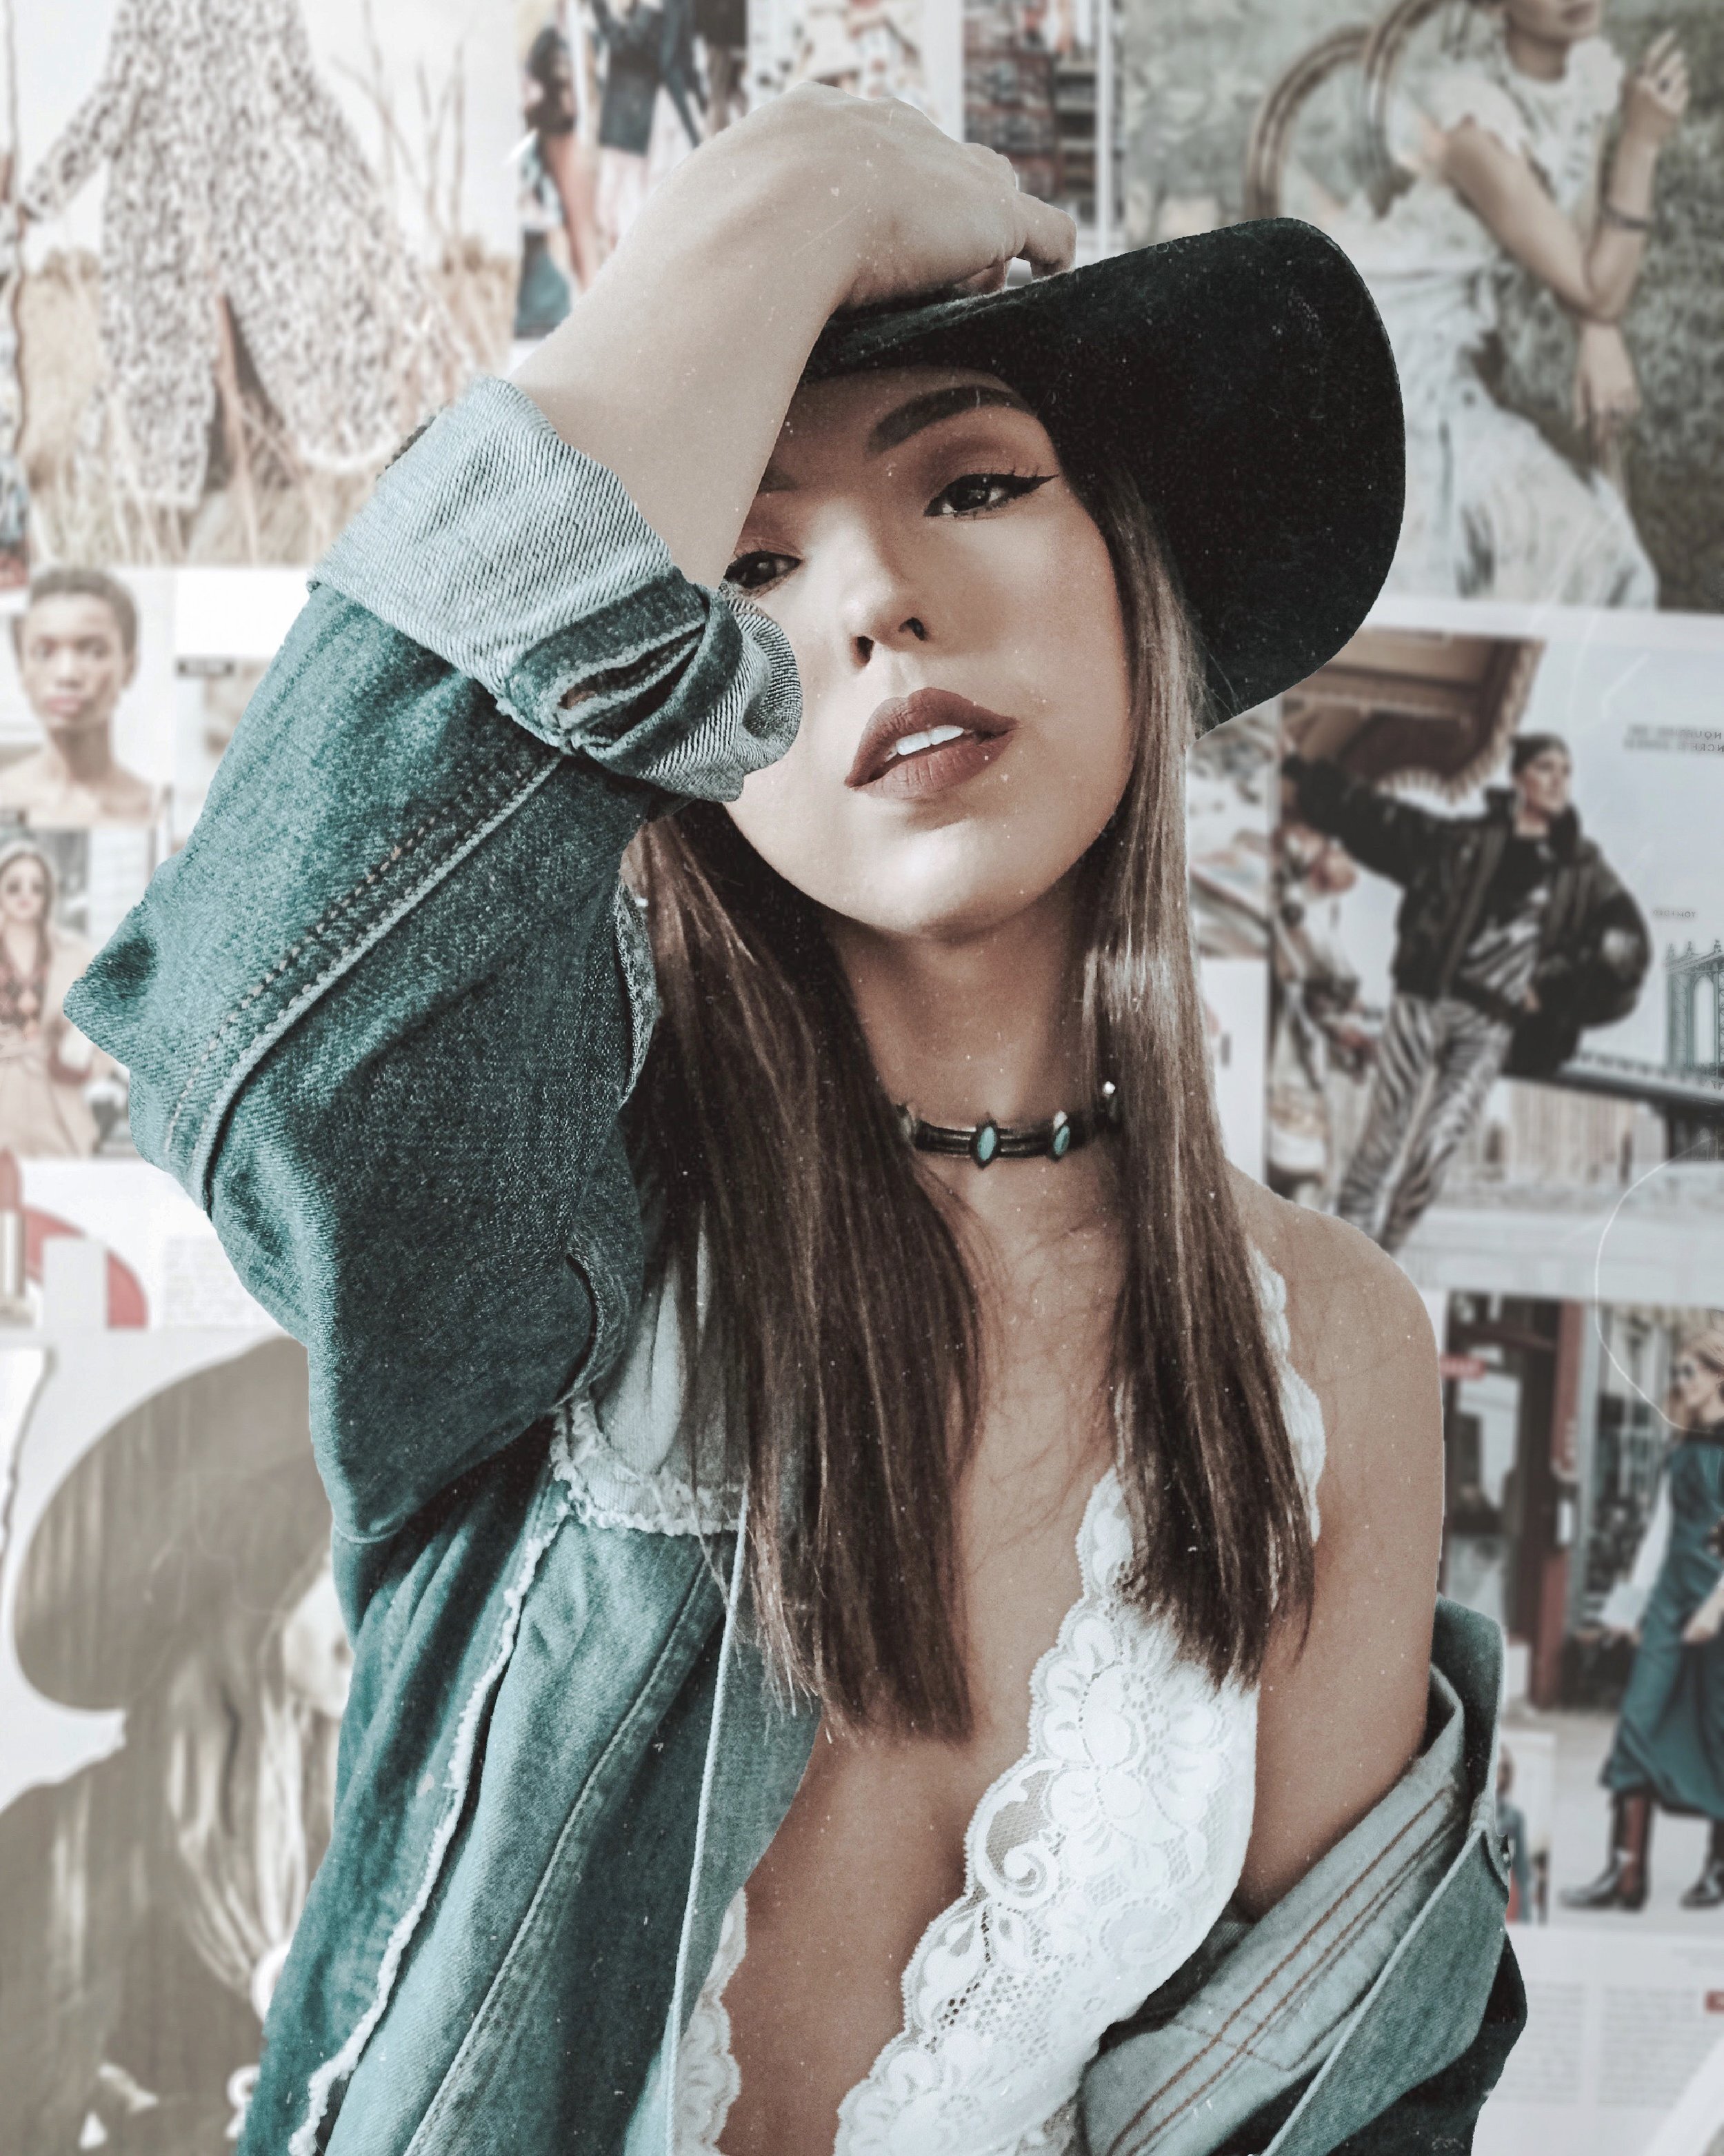
Example:
3. Afterlight
Afterlight is another app that I just started to play with. My favorite feature is the double exposure and “dust” feature that you can overlay on your photo. I usually export my edited photo from lightroom and import it to Afterlight to apply the dust feature. Afterlight is another app that has advanced tools that Lightroom has but not to the same extent. In my opnion, the advanced tools don’t come close to what Lightoom offers.
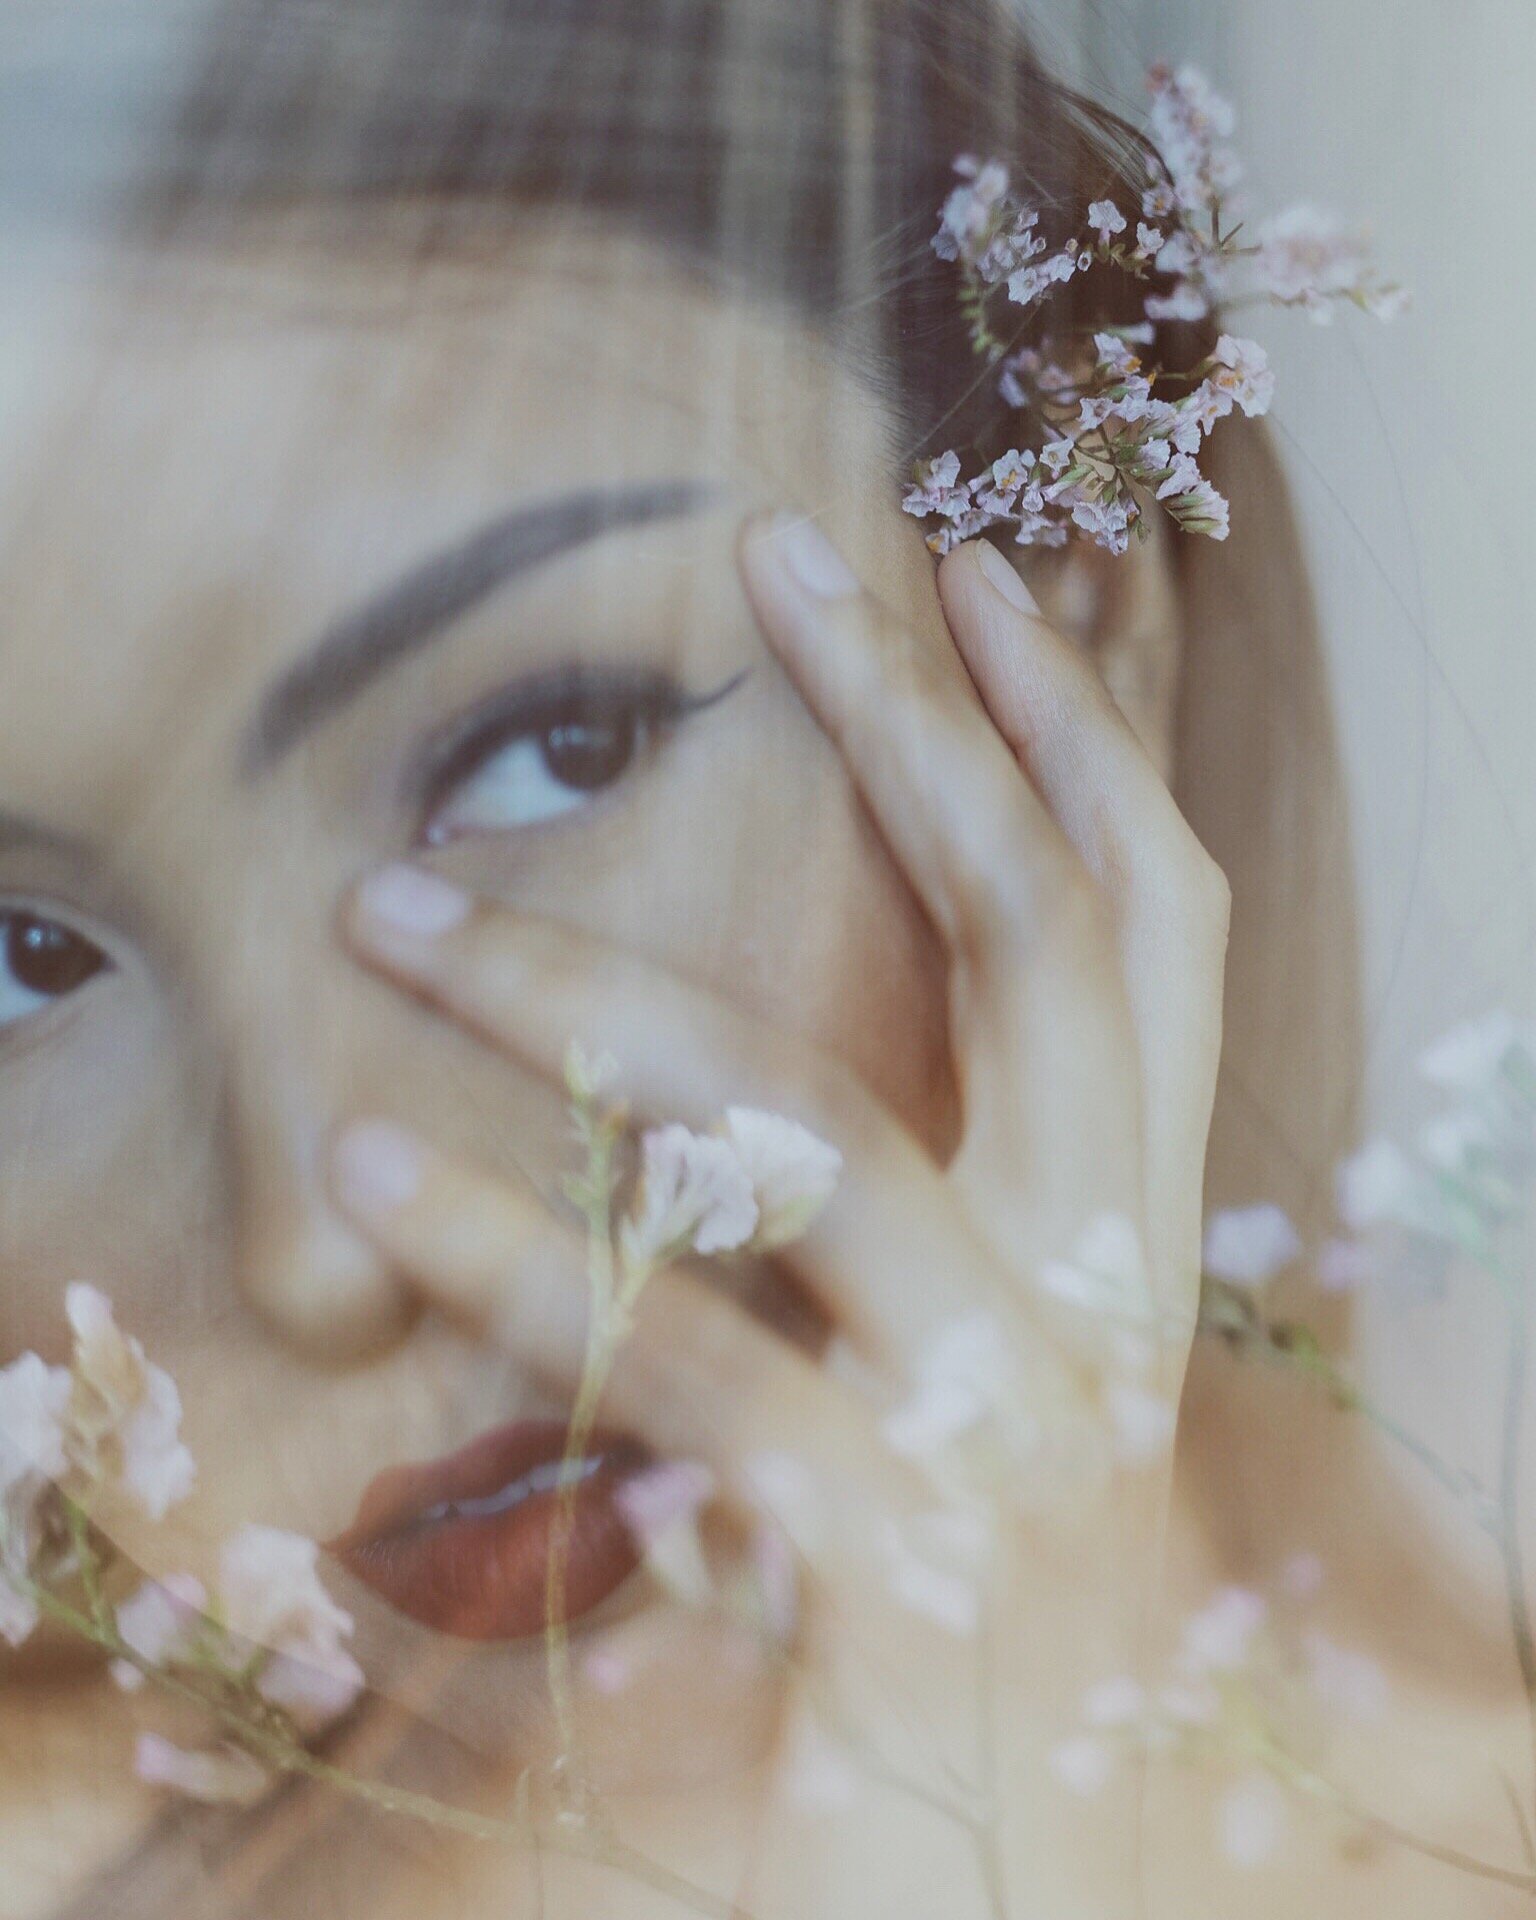
Example:
4. Mextures
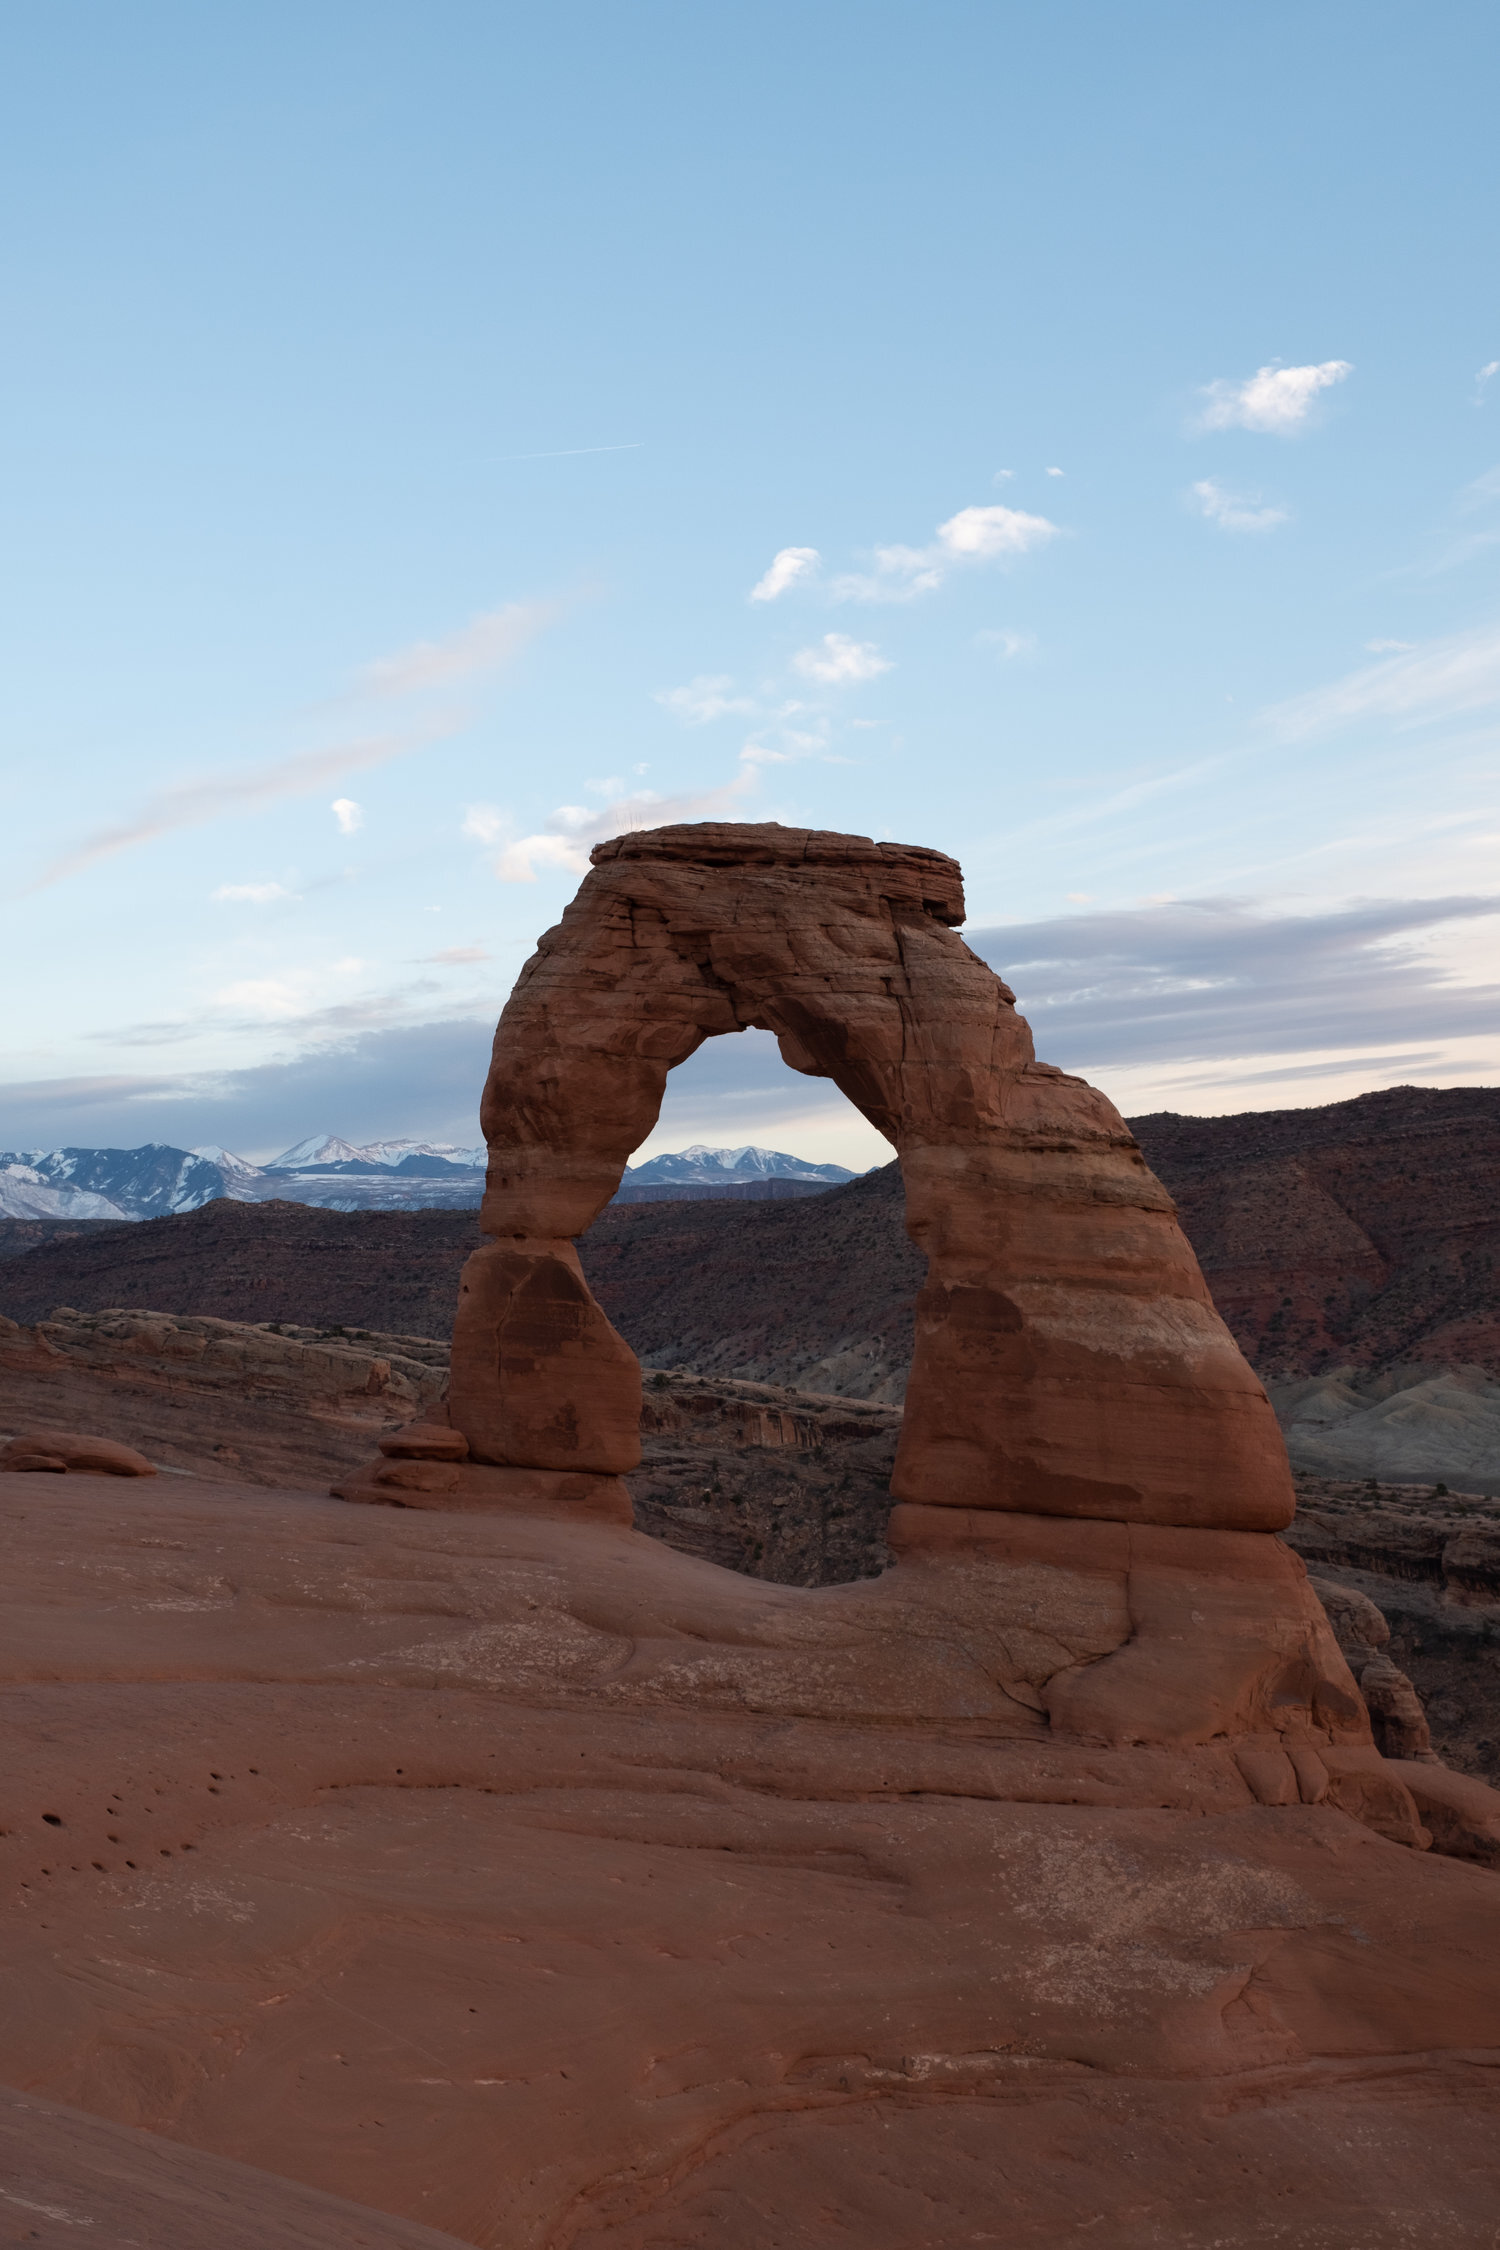
Mextures is an app that I’ve had for over a year and I mainly use it for landscapes. I use it espeically when I want to add a little more “mood” to my photos. You can add different textures, lighting, film grain and gradients. Again, I usually import my edit from Lightroom first then go into this app. My favorite feature about this app is the “radiance”, “grit & grain”, and “light-leaks” tool. If you want to make your pictures more dynamic and increase their artistic value, then this app is for you.
Example:

5. Facetune
One of the most popular apps for photo editing is Facetune. It was one of my first apps I used. I don’t use this app anymore and not because it’s not good, just because I learned to do it in Lightroom-one stop shop. Now this app isn’t for making color or light changes to a photo but for editing portraits or “selfies”. The app offers eight different types of corrections and enhancements to a person's face in a given photo - including to the hair, eyes, skin, and smile. My favorite feature of this app was the “smooth” and “detail” features. With the smooth tool, you can obviously smooth out your skin from blemishes or any imperfections. The detail tool is great when you want to highlight something specifically and make it look sharper. I like to use this on detail shots of jewelry i’m wearing or anything I want emphasized.
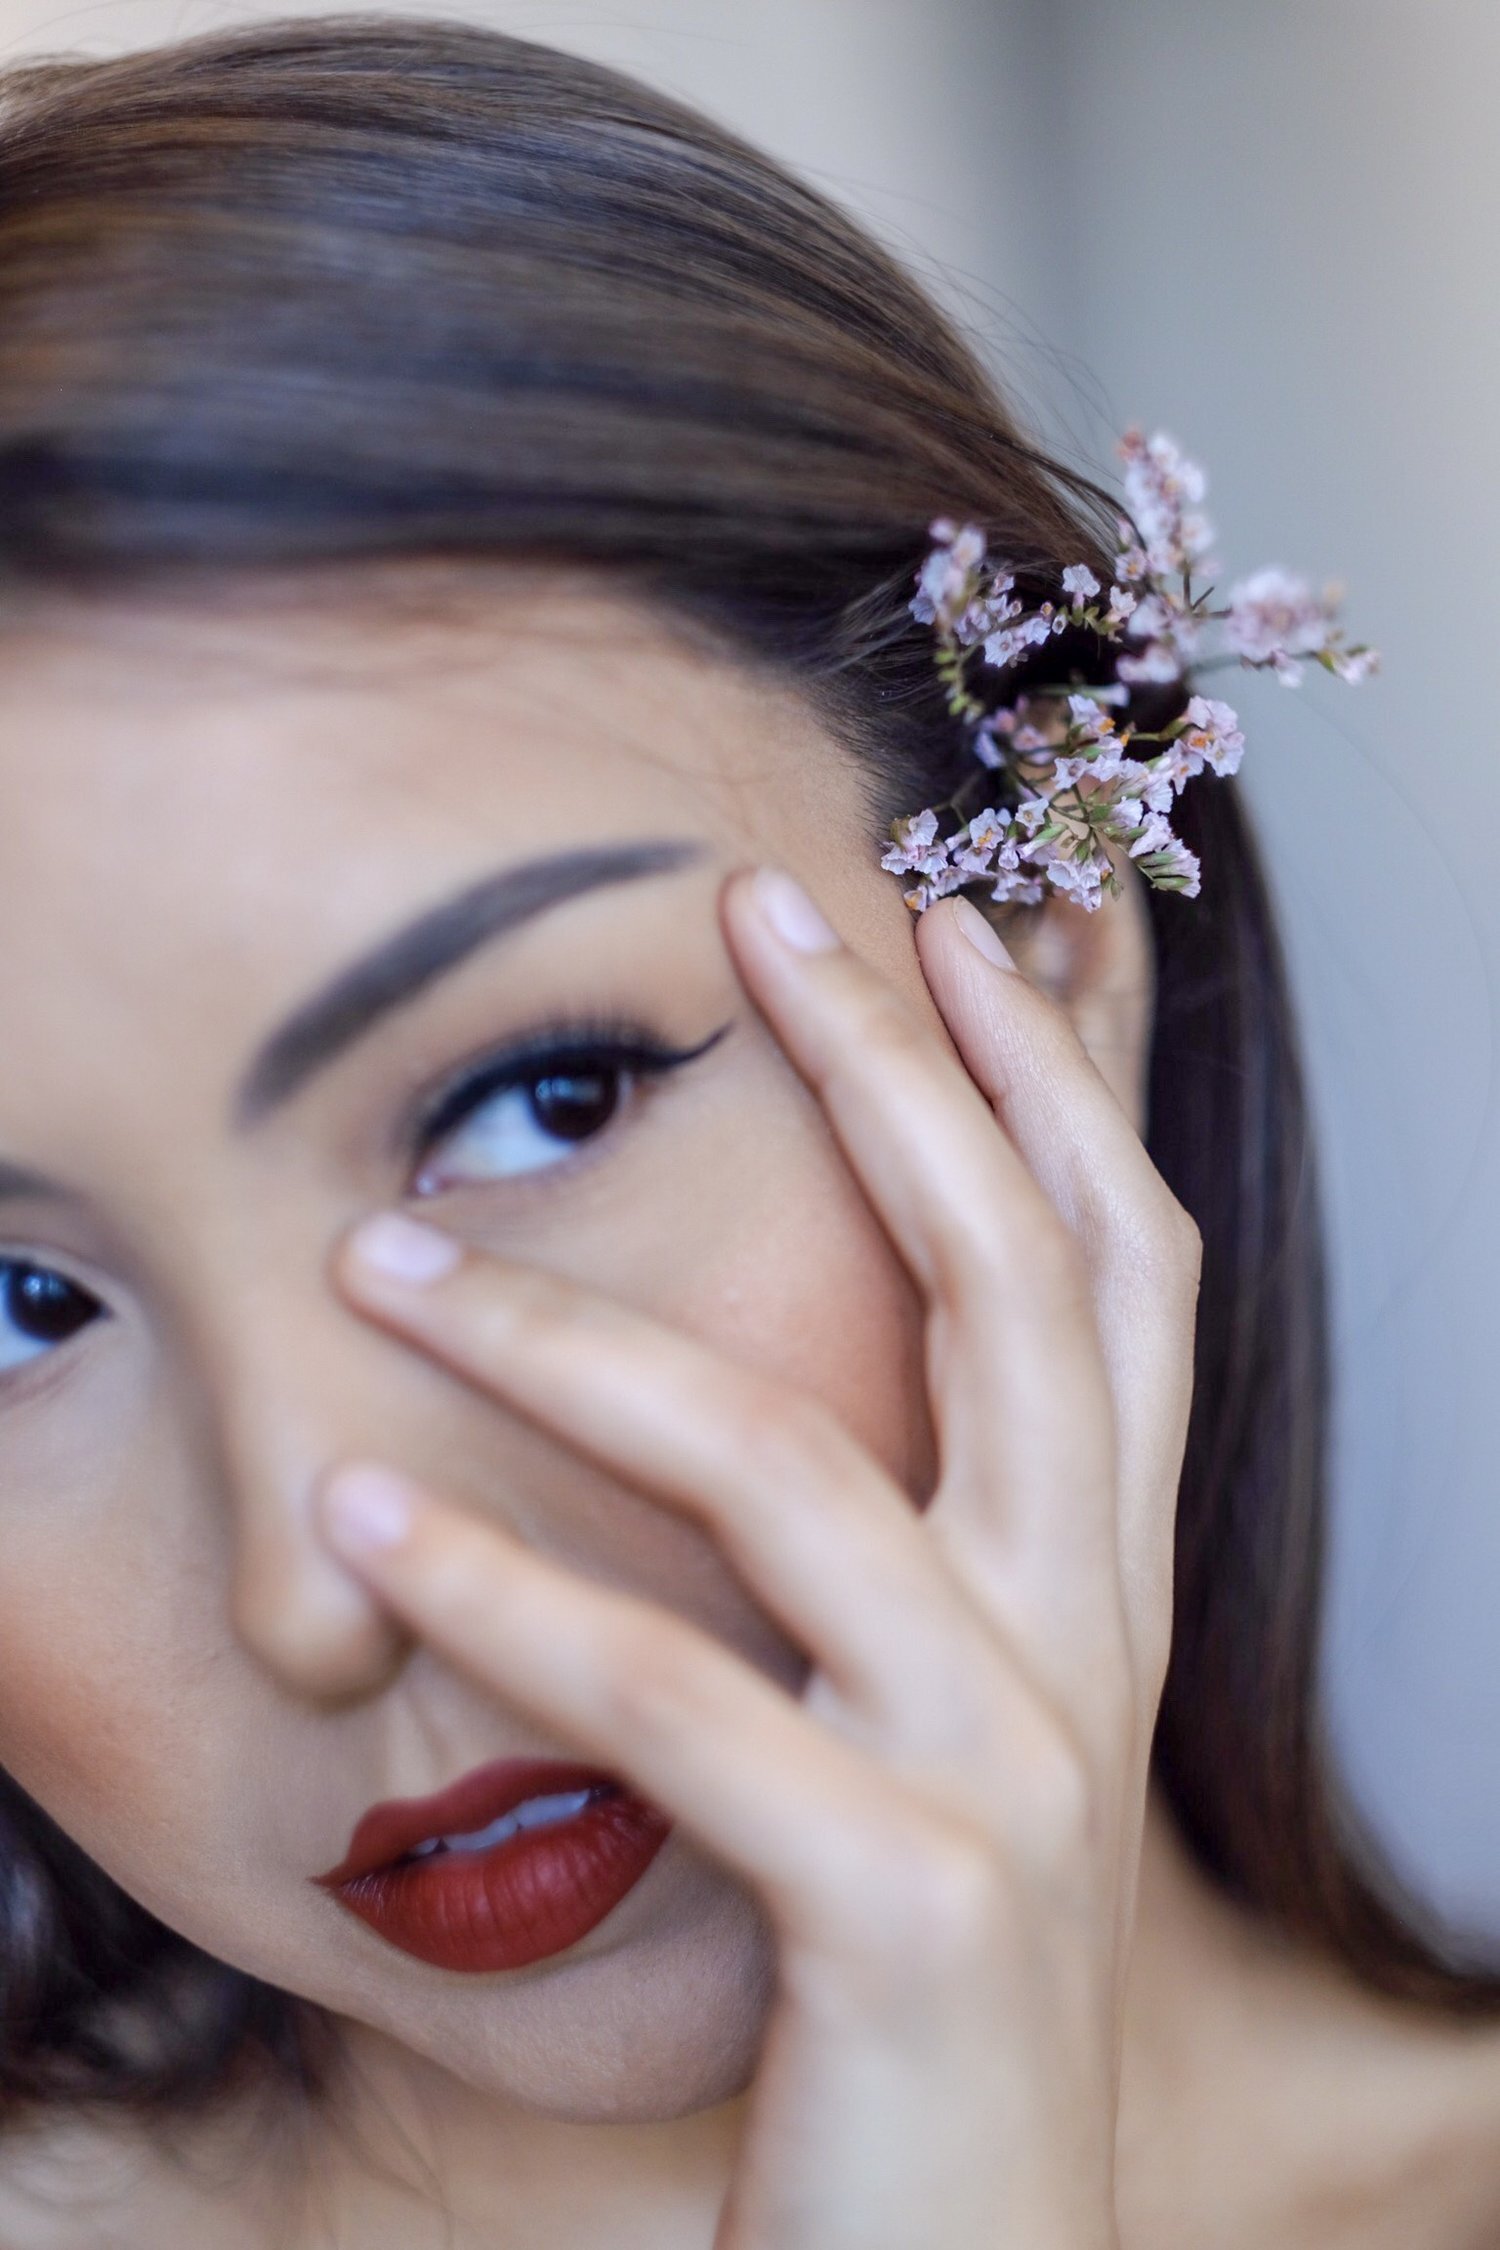
Example: